Organize Everyday | Flip Storage Q&A
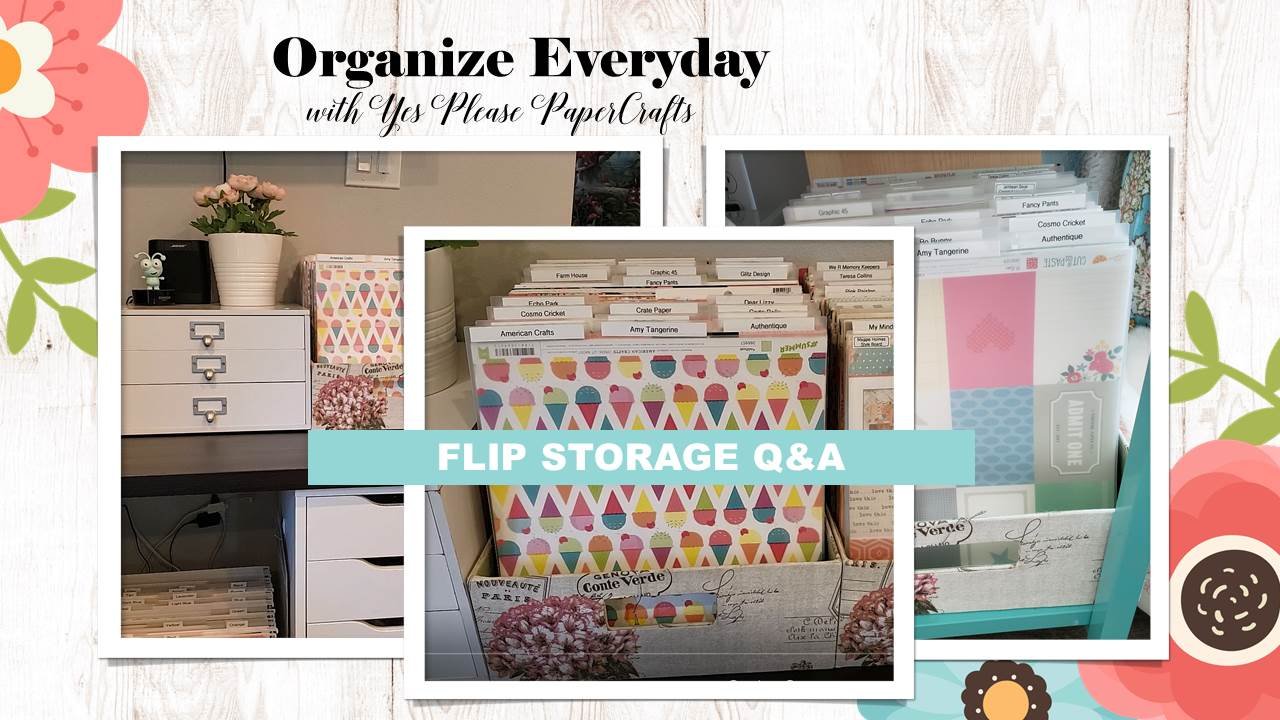
The latest video in the series is now available on YouTube (link is below). In my previous video, I showed my “Flip Bins” and how I store and organize my 12×12 paper. This new video answers some questions and gives some additional tips.
If you are looking for a bin to use to create your own “Flip Bin”, I recently found a collapsible bin at Tuesday Morning that is perfect. It’s the WAVERLY by Home Expressions Collapsible Small Storage Cube 6.5″X13″x13″ . If you can’t find one at Tuesday Morning, this bin is also available on Amazon.com

Small Collapsible Storage Bin
Compatible with 13″ Cube Organizers
13″x6.5″x13″

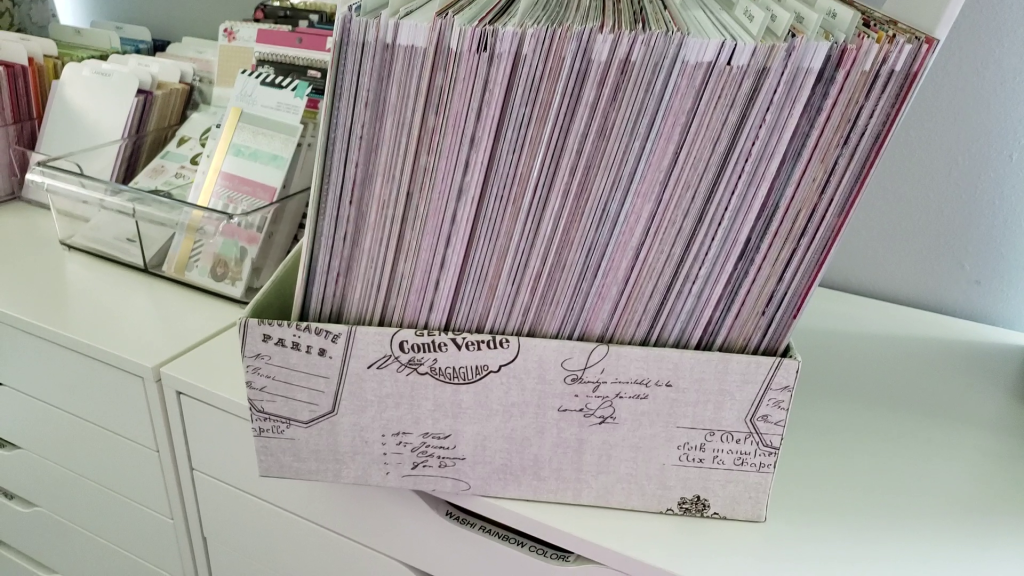
I really love storing my paper so that I can flip through it but if you put your paper in the bin with the top of the paper at the top, you can’t easily tell what paper it is. A few manufacturer’s have the branding strips at the top, but most paper has the branding strip on the bottom. So, my first tip in the video is to store your paper upside down with the branding strips on the top. I have dividers with the manufacturer name and then the paper is sorted by collection (which is super easy to do because the name of the collection is at the top … even if it may be upside down).
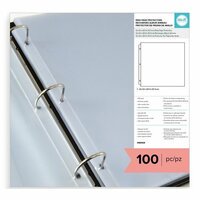
The second tip is about storing collections. I store my 12×12 collections in a heavy duty 12×12 page protectors. I like both the Scrapbook.com Universal 12×12 Page Protectors and the We-R-Memory-Keepers 12×12 Page Protectors.

Once you start using your collections, you can also store your scraps in the page protectors with your collection. And, if you have some stickers or other flat embellishments, those can go into the page protectors as well so that you can keep everything together. I am also planning to put a page protector in front of each manufacturers tab where I can store large scraps.
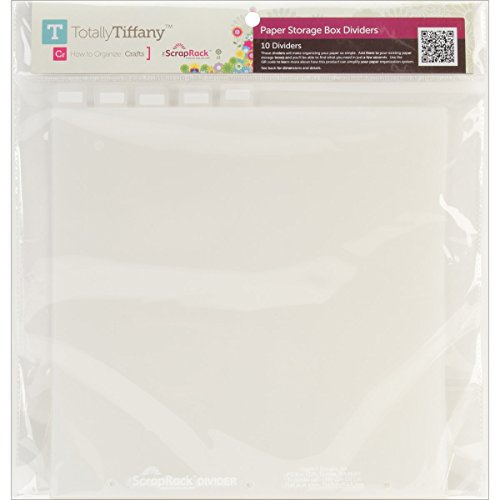
I didn’t mention the dividers in my original video and I had a lot of questions about what they were and where I got them. My Dividers are Cropper Hopper from Hobby Lobby which I’ve had for many, many years. I don’t think that they are available anymore, but any 12×12 Divider should work including Advantus Storage Solutions or Totally Tiffany Paper Storage Box Dividers to name a few. Even the Cutting Mats from Dollar Tree would make good dividers.

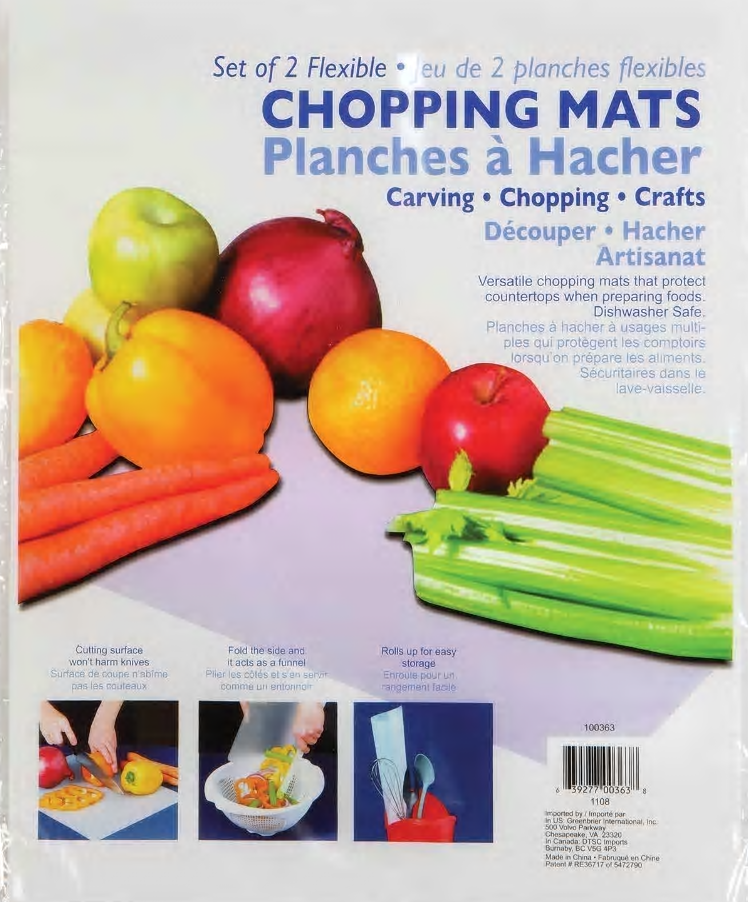
The last tip in the video is regarding support for your paper. I had a wood board in the back of both bins and then I moved the bins against a wall so I removed the wood boards thinking that I didn’t need them since the bin was against a wall. However, after about a week, I noticed that there was a slight bend in the paper. I would recommend putting something at the back of the bin to support the paper, like a piece of wood or a cutting board. I used two 11″x14″ Farberware cutting boards from Amazon and they are only 1/4″ so don’t take up much room in the box but they keep the paper super straight.


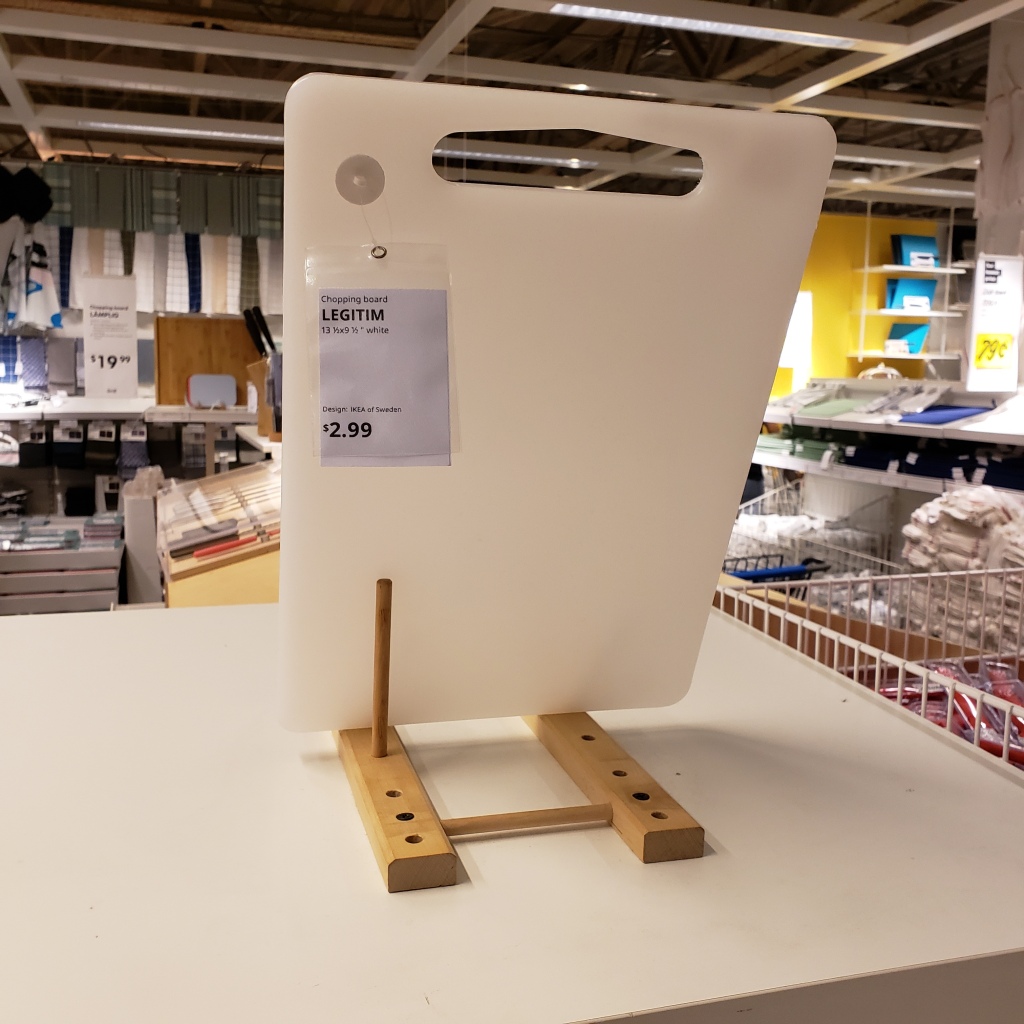
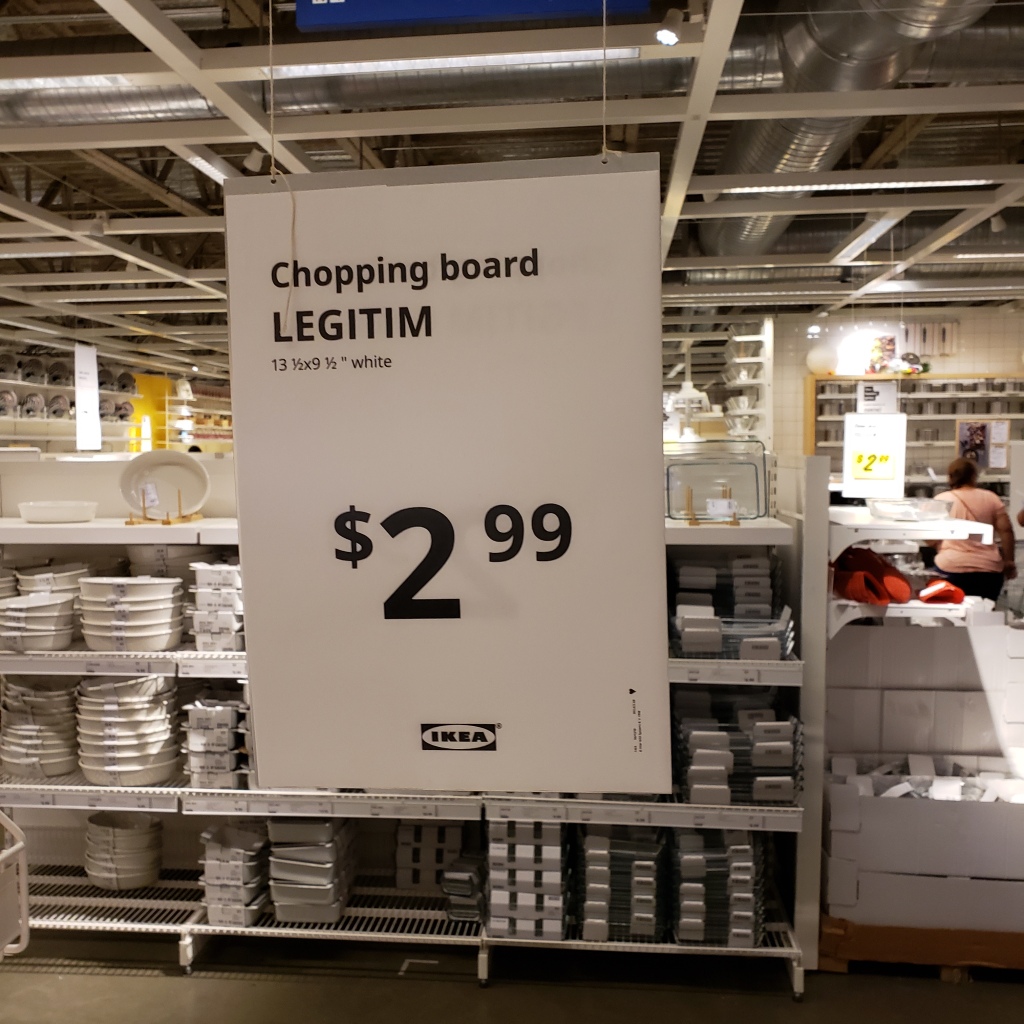
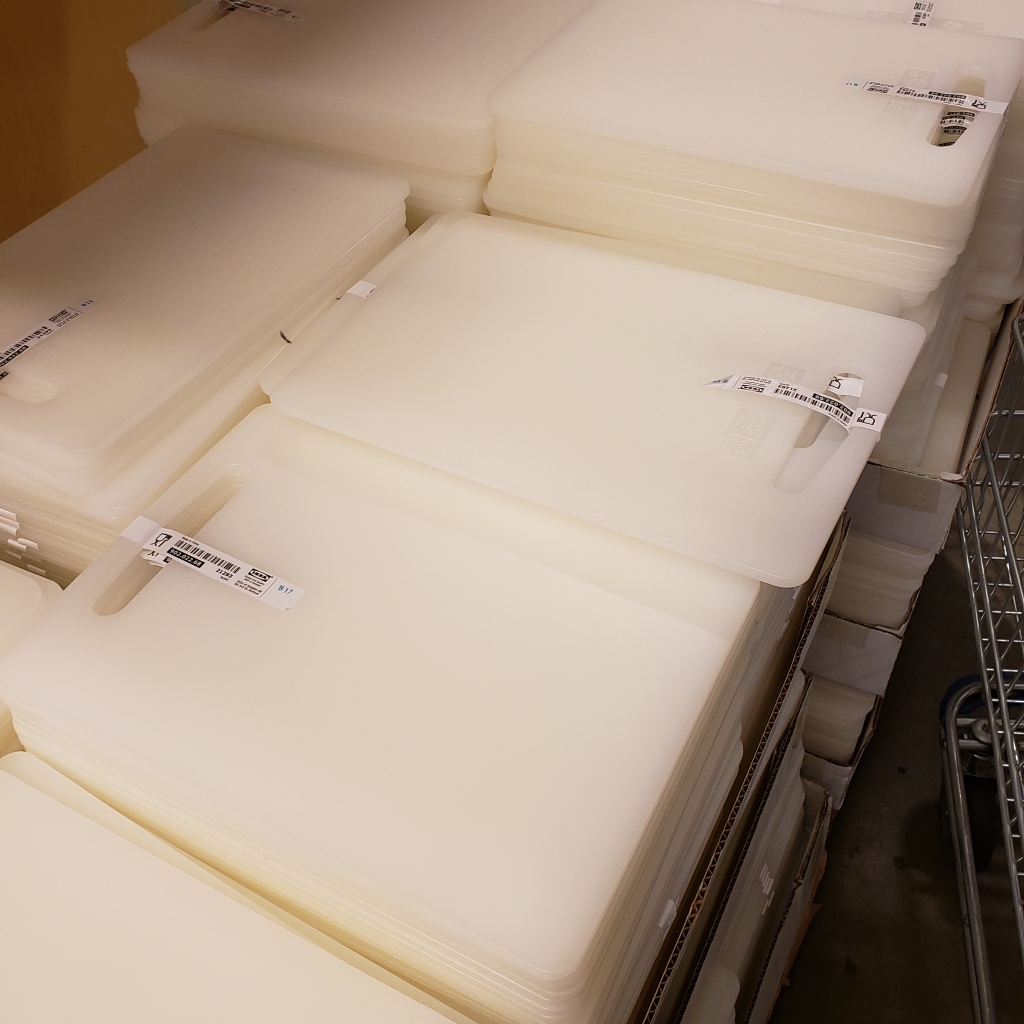
Ikea has a chopping board for only $2.99 (pictured below). If you don’t have an Ikea close by, here’s a link to the Faberware cutting board (pictured above) that I purchased on Amazon for only $7.40.
If you have questions or just want to share ideas on storage and organization on any of the information provided, please head over to the “Craft Room Organization with Yes Please Paper Crafts” Facebook Group . If you haven’t joined the group yet, please request to join.
